Adding a wood fence to your property not only enhances its aesthetics but also provides privacy, security, and boundaries. Wood fence panels are a popular choice among homeowners due to their natural beauty and versatility. If you're considering upgrading your home with a wood fence, this guide will walk you through the Wooden fence installation process, making it simple and hassle-free.
Benefits of Wood Fence Panels
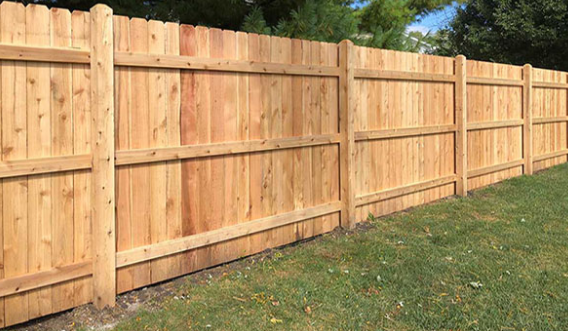
Wood fence panels offer a range of benefits that make them an attractive option for homeowners looking to enhance their outdoor spaces:
- Natural beauty: Wood fences add warmth and natural beauty to any property.
- Versatility: Wood fence panels come in a variety of styles, designs, and finishes to suit any aesthetic preference.
- Privacy: Wood fences provide a sense of privacy and seclusion, creating a peaceful outdoor environment.
- Durability: With proper maintenance, wood fences can last for many years, making them a cost-effective option in the long run.
- Customization: Wood fence panels can be easily customized to fit the specific needs and style of your property.
Pre-Installation Preparation
Before you begin the installation process, there are a few important steps you need to take to ensure a successful outcome:
1. Check local regulations:
Before installing a wood fence, check with your local building codes and homeowners' association regulations to ensure compliance.
2. Determine property lines:
Identify and mark the boundaries of your property to avoid any disputes with neighbors during the installation process.
3. Gather necessary tools and materials:
Make sure you have all the tools and materials required for the installation, including wood fence panels, posts, gravel, concrete, screws, and a post hole digger.
Installation Process
Follow these steps to install stylish wood fence panels around your property:
1. Mark the post locations:
Use a string line or chalk to mark the locations where the fence posts will be installed. Ensure the spacing between posts is consistent for a uniform look.
2. Dig post holes:
Use a post hole digger to dig holes for the fence posts. The depth of the holes should be one-third the height of the posts.
3. Install the fence posts:
Place the fence posts in the holes and fill them with gravel for drainage. Use a level to ensure the posts are plumb and secure them with concrete.
4. Attach the panels:
Once the posts are set, attach the wood fence panels to them using screws. Make sure the panels are level and secure.
5. Add finishing touches:
Stain or paint the wood fence panels to protect them from the elements and enhance their appearance. You can also add decorative elements such as post caps or lattice panels for a personalized touch.
Maintenance Tips
To keep your wood fence panels looking their best, follow these maintenance tips:
1. Regular cleaning:
Remove dirt, debris, and mold from your fence panels regularly to prevent damage and maintain their appearance.
2. Inspect for damage:
Check your fence panels for any signs of damage, such as rot or loose screws, and repair them promptly to prevent further deterioration.
3. Seal or stain:
Apply a sealant or stain to your wood fence panels every few years to protect them from moisture, UV rays, and other environmental factors.
Conclusion
Installing stylish wood fence panels around your property can transform your outdoor space and enhance its appeal. By following the simple installation process outlined in this guide and maintaining your fence properly, you can enjoy the beauty and benefits of a wood fence for years to come.